Export layer to png file in gimp
 Sebastian Wright
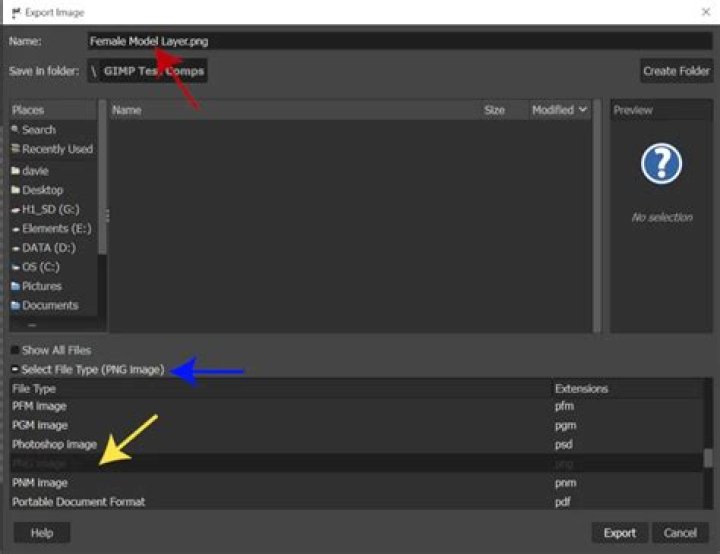
Is there a simple way to export the current selected layer as a png/jpg file in Gimp 2.8.4 ?
I did some searching in google, and the export should do it in gimp 2.6 if the layer is the only visible layer, but I can't get that to work for gimp 2.8
The way I currently do it now is that I select the content, and cut/paste it to a new image, then export the image and close it, but a simple export selected layer would be much more easy to use.
46 Answers
- select layer
- press ctrl+c
- press ctrl+shift+v (=paste as new image)
- export as whatever you like
I can do this on GIMP 2.8.2 running on Linux. The image below has two layers, one blue and one black.
If I export the image as is, I get a blue png. Now, set the blue layer to invisible:
If I now export this image (CtrlE) I get a nice black .png:
There is a GIMP plugin to export as layers: Export layers plugin
This plugin does not have the option of exporting only the current active layer - however it uses square brackets in the layer names to determine how it treats the layers.
Thus to export your current layer you could:
- Install this plugin (you will have to restart GIMP)
- Rename the layer or layers you wish to export, surrounding their names with square brackets e.g. [my image]
- Select "Export layers" from the file menu
- Enter the extension for the format you want to use in the extension field
- Under advanced settings change the "layer names in [square brackets]:" option to "Ignore other layers"
- Click export layers
I hit upon a simple workaround under windows: I select the layer that I want to copy in the GIMP, press control+C to have it in the Windows clipboard. Then I open Irfan View as a separate application and I paste in the contents of the Windows clipboard with control+V. Then the pasted image can be saved to disk in whatever format I like.
1Note that the "Save As" operation ignores layers and visibility in formats where layers are not supported. Merging or flattening the image for export is a separate operation available before Gimp converts the format, and it is not mandatory. You can skip the flattening and merging operation by clicking "Ignore."
When you chose to "Save As" from the file menu, by default only the active layer is exported unless the target format supports layers. For example, if your image has three layers and you want a PNG image, the PNG will only have graphic information for one layer: the active layer, UNLESS you flatten the image or merge layers.
Now to save three layers as three images, you need to make three "save as" operations. The steps below outline the sequence for creating separate images from layers.
- Ensure the editor window is active with the top layer selected.
- Press "CTRL-SHIFT-S" for the Save As dialogue.
- Choose your output format, and file name for the FIRST page. Press "Enter"
- On the Export dialogue, choose "Ignore"
- Set the options for your destination format and press "Enter" or
click "Save."
You are now returned to the image editor window. Repeat the below steps for each layer.
- Press "Page Down" to activate the next layer.
- Press "CTRL-SHIFT-S" for the Save As dialogue.
- Choose your output format, and file name for the NEXT page. Press "Enter"
- On the Export dialogue, choose "Ignore"
- The options for your destination format are remembered. Press "Enter" or click "Save."
A Script-fu could easily handle this.
Using layer keyboard shortcuts you can export each layer in very few
steps.
Easiest way:
- Shift-click on the "eye" icon of the layer you want to export: this hides all the other layers
- Ctrl+Shift+E: this brings up the Export dialog